Getting Started
It's no secret that creating data portals and data-driven applications can be quite complex nowadays. Fortunately, there are some projects available which simplify things and help you build platforms faster.
CKAN, Jupyter and other tools are very good examples of that.
Even still, there's a high learning curve before you can build a proper application. That's because you need to learn about Python, templating, data loading and so on. If you'd like to integrate content or rich visualizations things are even more complex.
So, we need something simple but customizable.
Think about how apps are created as a frontend developer. You create some files, write some code, load some data and then simply deploy it. We don't have to worry about Docker, Kubernetes, data storage, Postgres etc.
That's exactly what we do with Portal.js. Built in pure Javascript and React on top of the awesome Next.js framework. Here are some the cool features Portal.js brings to the table:
- 🗺️ Unified sites: present data and content in one seamless site, pulling datasets from a DMS (e.g. CKAN) and content from a CMS (e.g. wordpress)
- 👩💻 Developer friendly: built with familiar frontend tech Javascript, React etc
- 🔋 Batteries included: Full set of presentation and portal components out of the box e.g. data tables, graphs, maps plus catalog search, dataset showcase, blog etc.
- 🎨 Easy to theme and customize: installable themes, use standard CSS and React+CSS tooling. Add new routes quickly.
- 🧱 Extensible: quickly extend and develop/import your own React components
- 📝 Well documented: full set of documentation plus the documentation of NextJS and Apollo.
- 🚀 Built on NextJS framework: so everything in NextJS for free React, SSR, static site generation, huge number of examples and integrations etc.
- SSR => unlimited number of pages, SEO etc whilst still using React.
- Static Site Generation (SSG) (good for small sites) => ultra-simple deployment, great performance and lighthouse scores etc
Sounds great, right? Let's give it a try.
This tutorial assumes basic knowledge of JavaScript, React and Nextjs. If you are not familiar with React or Nextjs, it is advisable to learn them first. We provide some links below to get you started:
Create a Portal.JS app
Setup
First, let’s make sure that your development environment is ready.
- If you don’t have Node.js installed, install it from here. You’ll need Node.js version 10.13 or later.
- You’ll be using your own text editor and terminal app for this tutorial.
If you are on Windows, we recommend downloading Git for Windows and use Git Bash that comes with it, which supports the UNIX-specific commands in this tutorial. Windows Subsystem for Linux (WSL) is another option.
Create a Portal.js App
To create a Portal.js app, open your terminal, cd into the directory you’d like to create the app in, and run the following command:
npx create-next-app portaljs-dataset --use-npm --example "https://github.com/datopian/portal.js/tree/main/examples/default"
Run the development server
You now have a new directory called portaljs-dataset. Let’s cd into it:
cd portaljs-dataset
Then, run the following command:
npm run dev
This starts your Portal.js app’s "development server" (more on this later) on port 3000.
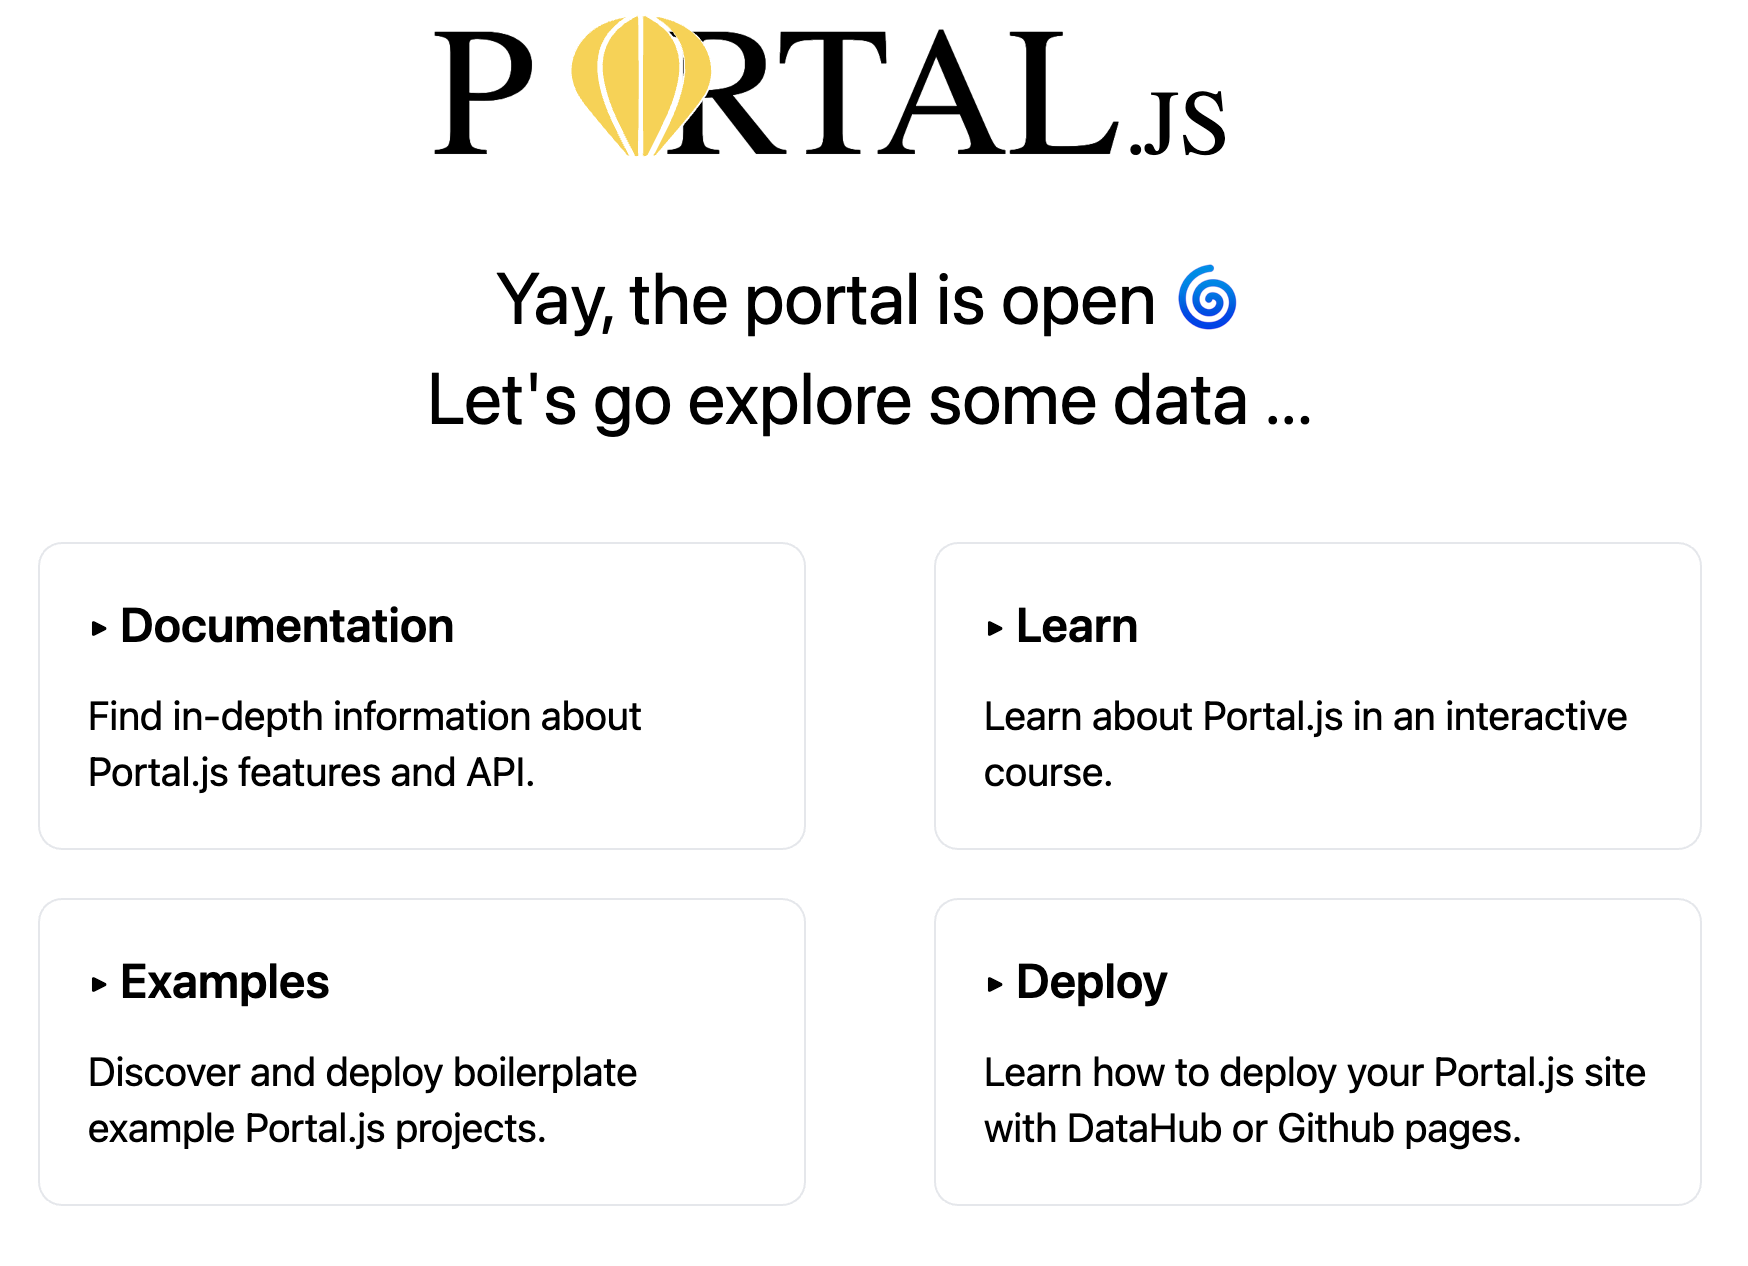
Let’s check to see if it’s working. Open http://localhost:3000 from your browser and you should see the following page:
Edit the page
Portal.js app is a Next.js/React.js based project. To edit the page follow these steps:
- Open the project in your text editor.
- Go to
/pages/index.jsfile. - Find the
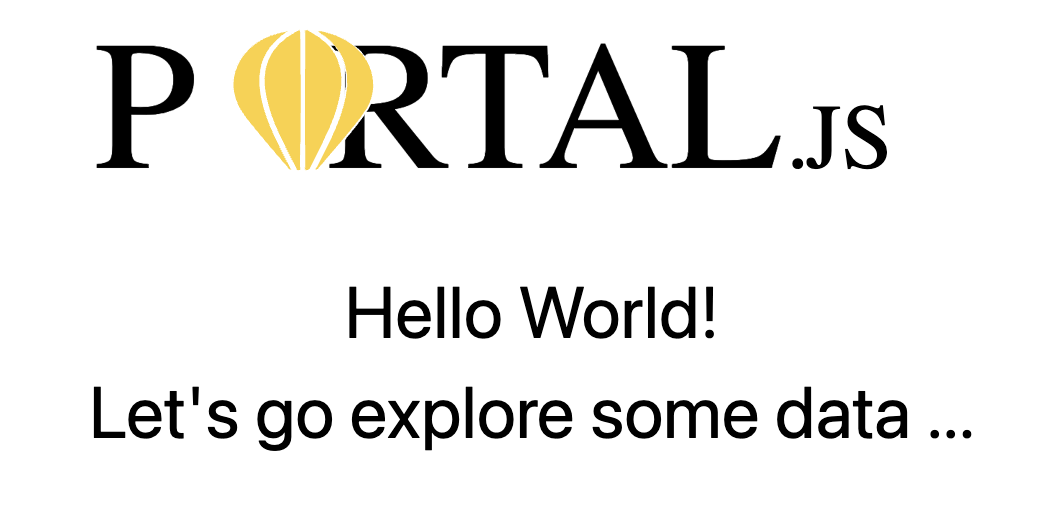
h2tag with text that says "Yay, the portal is open 🌀" and change it to "Hello World!". - Save the file.
Once you've changed the file and saved it, the page on localhost:3000 should update:
We won't dive into details of how to edit the pages as our focus is presenting data. To learn more about how to use Next.js and/or React, please visit the following sites:
Next steps
- Presenting a dataset
- Putting your portal online
- Deploy to GitHub Pages - learn/deploy-to-gh-pages.
- Learn how to build a portal for a single frictionless dataset - learn/single-frictionless-dataset.
- Learn how to use Portal.js as a frontend for CKAN - learn/ckan.